Are you ready to step into the delicious world of home-brewed espresso? 🍵 Whether you’re a caffeine connoisseur or just curious about making your own morning cup, this guide will walk you through everything you need to know.
- 🤖 Why Make Espresso at Home?
- 🚀 Getting Started: What You Need to Make Espresso at Home
- 🤔 Understanding the Espresso Basics
- 🍵 Step-by-Step: How to Pull Your First Espresso Shot
- 🧏♂️ Common Espresso Mistakes (and How to Fix Them)
- 🎉 Level Up: Espresso-Based Drinks You Can Make at Home
- 🔧 Maintenance and Cleaning
- 😍 Espresso at Home: Is It Worth It?
- 📄 Wrapping Up
- 💬 FAQs for Espresso For Home
From choosing the right machine to perfecting your first shot, we’ve got you covered.
Making espresso at home can seem intimidating at first, but with the right tools, tips, and a sprinkle of patience, you can become your own barista in no time!
🤖 Why Make Espresso at Home?

Let’s face it: coffee shop visits add up — fast. That daily $5 cup can cost you over $1,800 a year!
Learning how to make espresso at home not only saves money, but it also gives you full control over flavor, strength, and ingredients.
Plus, there’s nothing like the smell of fresh espresso filling your kitchen. ☕️
Whether you’re chasing the perfect crema or just want to enjoy a homemade latte, creating espresso at home is both fun and rewarding.
🚀 Getting Started: What You Need to Make Espresso at Home
Before you dive in, let’s talk gear. Here’s what you’ll need:
🛠️ 1. Espresso Machine
Espresso machines come in a few different types:
Manual Machines
- Best for: Experienced baristas
- Pros: Full control over the shot
- Cons: Steep learning curve
Semi-Automatic Machines
- Best for: Beginners to intermediate users
- Pros: Combines control with convenience
- Cons: Still requires practice
Automatic Machines
- Best for: Busy espresso lovers
- Pros: Push-button simplicity
- Cons: Less control, pricier
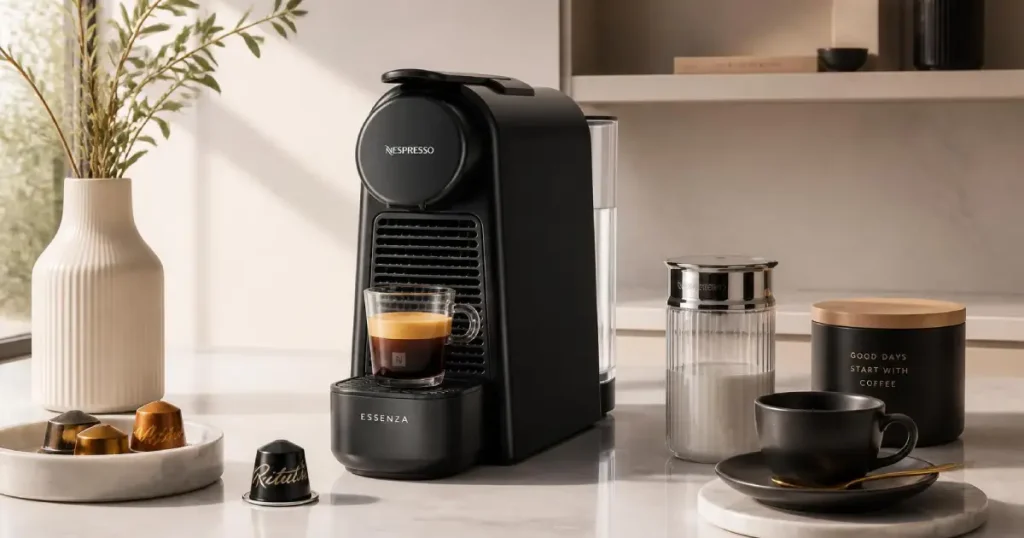
Pod Machines (like Nespresso)
- Best for: Convenience lovers
- Pros: Fast, mess-free
- Cons: Expensive pods, limited flavor profiles
Tip: Start with a reliable semi-automatic machine if you want a good balance between control and ease.
🌿 2. Coffee Grinder
Freshly ground beans are a game-changer — always grind just before brewing. Look for a burr grinder, not a blade one, for consistent grind size.
- Espresso grind: Fine, like table salt
- Recommended grinders: Baratza Encore, Breville Smart Grinder Pro
📁 3. Tamper
A tamper compresses the coffee grounds evenly in the portafilter. This helps with consistent extraction. Some machines come with one, but upgrading to a heavier, more ergonomic tamper is usually worth it.
🪄 4. Good Coffee Beans
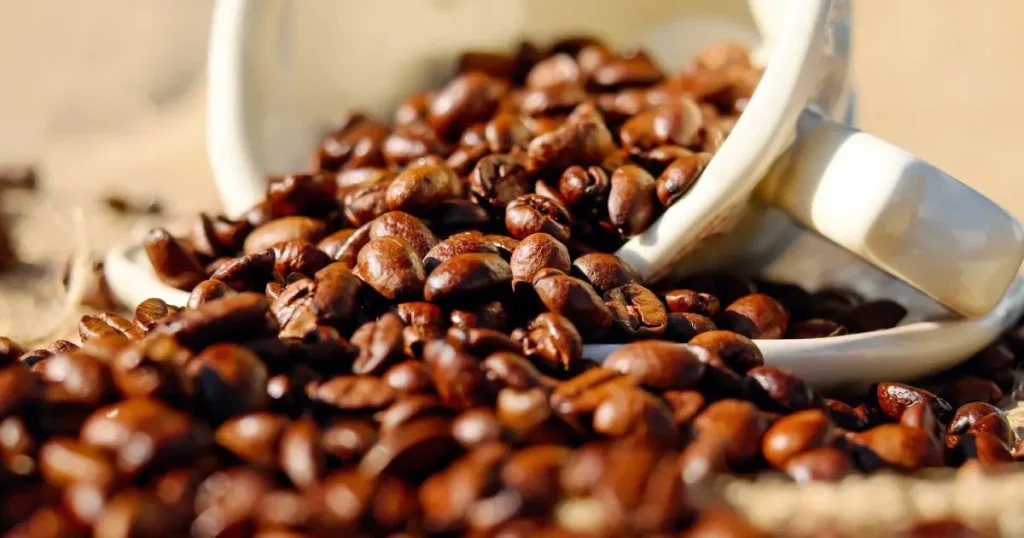
Choose espresso-roasted beans or any medium to dark roast. Always check the roast date (aim for within 2-3 weeks).
- Flavor tip: Try beans from Ethiopia or Colombia for fruity notes; Brazil or Sumatra for a nutty, chocolatey flavor.
📅 5. Scale and Timer
Precision matters. A digital scale helps measure out grams of coffee (usually 18-20g for a double shot), and a timer ensures you don’t over- or under-extract.
🤔 Understanding the Espresso Basics
What is Espresso, Really?
Espresso is a concentrated coffee brewed by forcing hot water under pressure through finely-ground coffee. It’s the foundation for drinks like lattes, cappuccinos, and Americanos.
A typical shot:
- Uses 18-20g of coffee
- Extracts in about 25-30 seconds
- Produces about 30-40ml of liquid
The “Golden Rule” of Espresso
- Dose: 18-20g of coffee
- Yield: 36-40g of espresso
- Time: 25-30 seconds
This is often called a “1:2 ratio” and is the standard starting point for dialing in your espresso.
🍵 Step-by-Step: How to Pull Your First Espresso Shot
Here’s the exciting part! Let’s break it down.
✅ Step 1: Warm Up Your Machine
Let your machine warm up for 15-30 minutes. Run a blank shot (no coffee) to preheat the group head and cup.
✅ Step 2: Grind Your Coffee
Grind 18-20g of coffee. The grind should be fine but not powdery.
Tip: If your shot pours too fast, grind finer. Too slow? Grind coarser.
✅ Step 3: Distribute and Tamp
Distribute the grounds evenly in your portafilter. Tamp firmly and evenly — you want a flat, even surface.
✅ Step 4: Pull the Shot
Lock in the portafilter, start your timer, and begin the extraction. Stop at around 25-30 seconds or when you hit your target yield (36-40g).
Look for:
- Steady stream
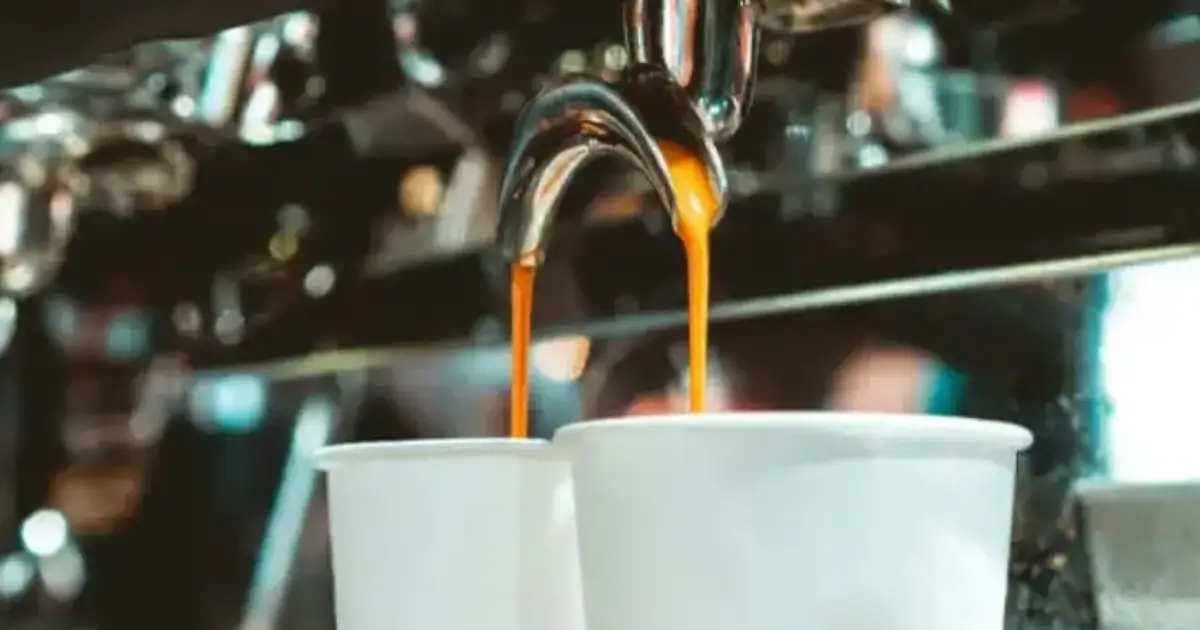
- Golden crema on top
✅ Step 5: Taste and Adjust
Your espresso should be rich, balanced, and smooth. If it’s too sour, adjust for a finer grind. If it’s bitter, try a coarser grind or lower temperature.
🧏♂️ Common Espresso Mistakes (and How to Fix Them)
🪛 Channeling
- Cause: Uneven tamping or distribution
- Fix: Use a distribution tool or spend more time leveling
🌡Sour or Weak Espresso
- Cause: Under-extraction
- Fix: Finer grind, longer brew time
🧪 Bitter or Burnt Espresso
- Cause: Over-extraction
- Fix: Coarser grind, shorter brew time, or lower temp
🎉 Level Up: Espresso-Based Drinks You Can Make at Home
Now that you’ve mastered the shot, try these tasty drinks:
Latte☕
- 1 shot espresso + 6-8 oz steamed milk
- Top with foam or latte art ✨
Cappuccino☕
- 1 shot espresso + 2 oz steamed milk + 2 oz foam
Americano ☕
- 1 shot espresso + 4-6 oz hot water
Macchiato ☕
- 1 shot espresso + dollop of foam
Mocha ☕
- 1 shot espresso + hot chocolate + steamed milk + whipped cream (optional)
Pro Tip: Practice milk frothing using a steam wand or milk frother. It takes time, but the silky texture is worth it!

🔧 Maintenance and Cleaning
A clean machine is a happy machine.
Daily Tasks:
- Wipe and rinse portafilter
- Purge and clean steam wand
- Backflush (if applicable)
Weekly Tasks:
- Deep clean group head
- Soak portafilter and baskets in espresso cleaner
Monthly Tasks:
- Descale your machine (frequency depends on your water)
😍 Espresso at Home: Is It Worth It?
Absolutely! 🎉 While there’s a learning curve, the joy of pulling your own espresso shot and crafting your favorite drinks is unmatched. Plus, you get to personalize everything — from the grind to the brew time to the milk texture.
You’ll also start to appreciate the nuances of coffee beans, roast profiles, and even water quality. It becomes more than a drink; it’s a hobby, a ritual, and sometimes even a lifestyle.
📄 Wrapping Up
Espresso at home doesn’t have to be complicated or costly. With the right equipment, a bit of practice, and this handy guide by your side, you’ll be brewing barista-level espresso in no time. Whether you’re in it for the morning pick-me-up or the art of the craft, espresso at home is one delicious journey worth taking.
So go ahead — grind, tamp, brew, sip, and enjoy the buzz. 🍵✨
💬 FAQs for Espresso For Home
What’s the best espresso machine for beginners?
A semi-automatic machine like the Breville Bambino Plus is great for beginners. It’s user-friendly, heats up fast, and gives you some control without being overwhelming.
How long does it take to make espresso at home?
Once you’re set up, pulling a shot takes less than a minute. Including grinding, tamping, and setup, expect about 5-7 minutes total.
Do I need a fancy grinder?
You don’t need the most expensive grinder, but a quality burr grinder is essential. It provides the consistent grind required for espresso.
Can I use regular coffee beans for espresso?
Yes, but the roast and grind need to be right. Medium to dark roasts are preferred, and the grind must be very fine
How do I froth milk without a steam wand?
You can use a handheld milk frother, electric frother, or even a French press to froth milk. Heat the milk first, then froth until it’s doubled in volume.
Ready to make your first espresso? Tag us in your brew journey! #HomeBaristaBuzz #frothyfusion☕☕