If you’ve ever pulled a shot that looked perfect but tasted off — too sour, too bitter, too quick, or way too slow — chances are it wasn’t your beans or your machine. It’s that elusive but essential process: dialing in your espresso.
Whether you’re new to home espresso or still perfecting your puck prep, dialing in is where good coffee becomes great. In this guide, we’ll break down the three key variables — grind size, dose, and extraction time — and how they work together for the perfect shot.
🎯 What Does “Dialing In Espresso” Mean?
“Dialing in” means fine-tuning your grind, dose, and shot time to get the best flavor from your beans. Even with the same coffee and machine, changing one variable (like grind) can shift the taste dramatically.
Think of it like tuning a guitar. Each string (grind, dose, and time) needs to be in balance. Once everything’s dialed in, your espresso sings.
👉 How to Adjust Espresso Grind Size: A Practical Dial-In Guide
🔧 The 3 Main Variables: Grind, Dose, and Time
1. ⚙️ Grind Size – Your Starting Point
Grind too coarse, and your shot runs fast and tastes sour. Too fine, and it’ll choke your machine or taste bitter.
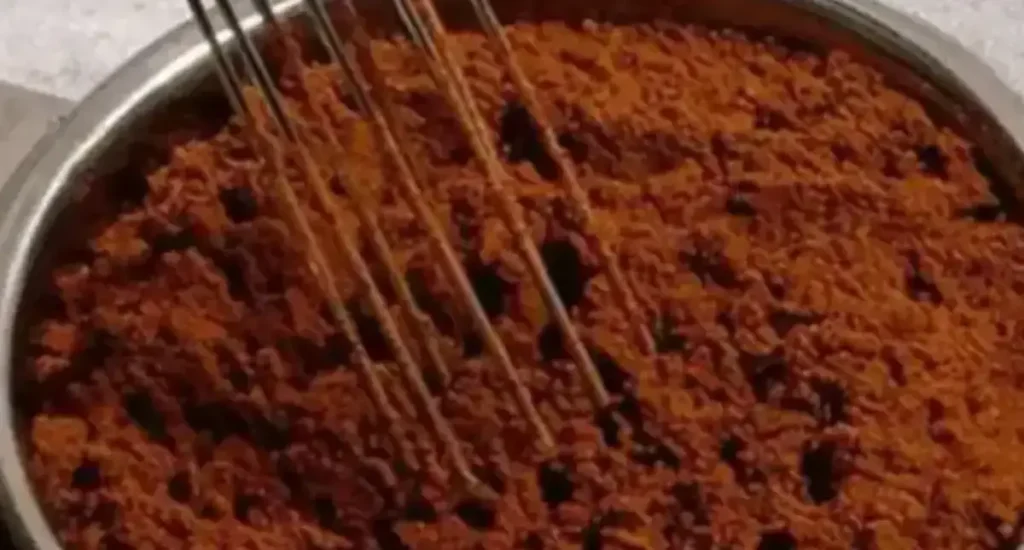
- Aim for: A fine grind that feels like powdery table salt
- Adjust if:
- Sour or watery? Grind finer
- Bitter or over-extracted? Grind coarser
➡️ Start here. Grind size affects everything.
2. 🥄 Dose – How Much Coffee You Use
Your dose is how many grams of ground coffee go into the portafilter.
- Standard range: 16–18g for a double shot (check your basket size!)
- Use a scale for precision — eyeballing isn’t enough.
- Keep the dose consistent when dialing in. Only change it after grind and time are dialed.
📝 Pro Tip: Stick with the manufacturer’s recommended dose if you’re unsure.
3. ⏱ Extraction Time – How Long the Shot Takes
This is the time it takes for water to pass through your puck and into your cup.
- Ideal range: 25–30 seconds for a double shot
- Time starts when the pump begins, not when coffee hits the cup
- Adjust grind size to change shot time, not the other way around
📉 Too quick = under-extracted (sour, weak)
📈 Too slow = over-extracted (bitter, dry)

☕ Target Recipe for Beginners
A great base recipe to start with:
| Variable | Starting Point |
|---|---|
| Dose | 18g (in) |
| Yield | 36g (out) – double shot |
| Time | 25–30 seconds |
| Grind | Fine (table salt texture) |
From here, you adjust based on taste.
🔄 What to Adjust First (And Why)
- Taste your shot
- If it’s sour → grind finer
If it’s bitter → grind coarser - If the shot runs too fast or slow, check:
- Tamping consistency
- Channeling (look at the puck!)
- Basket size and coffee weight
🎯 Only change one variable at a time. Keep your dose and yield consistent while adjusting grind and time.
🧠 Common Dialing In Espresso Questions
🛑 What if my espresso is gushing out in 10 seconds?
It’s under-extracted. Try a finer grind or a larger dose to slow the flow.
⌛ What if my shot takes 45 seconds?
Too slow. Grind slightly coarser. Check for over-tamping or a choked puck.
☕ Should I stir or WDT my grounds?
Yes! Even distribution helps avoid channeling and ensures even extraction.
📌 Final Thoughts – Practice Makes Perfect
Dialing in can feel like a puzzle, but it gets easier with each shot. Start with a consistent dose and yield, then adjust your grind to hit your time window. Most importantly — taste as you go.
Espresso isn’t just science — it’s craft. And dialing in is your chance to master it.
🛠️ Recommended Gear for Dialing In
| Tool | Why it helps |
|---|---|
| Precision Scale | For accurate dosing and yield |
| Espresso Grinder | Stepless or micro-adjustment preferred |
| WDT Tool | Breaks clumps for even distribution |
| Shot Timer | Built-in or smartphone works |
| Bottomless Portafilter | Helps diagnose channeling visually |
☕ Ready to upgrade your gear? Compare the best espresso tools on one page »
☕ You May Also Like:
- 👉 How to Tamp Espresso Like a Barista
- 👉 How to Use an Espresso Machine (Beginner’s Guide)
- 👉 Best Manual Espresso Machines for Home