Making consistently great espresso isn’t just about having the right beans or machine — it’s also about nailing your prep. And one of the most underrated tools for improving your shots? The WDT tool. Read on to find out how to use a WDT tool for espresso
If you’re building a better espresso workflow, start with the right gear in our complete coffee equipment guide.
If you’ve ever had uneven shots or channeling issues, this little spiky gadget could be your secret weapon. Here’s how to use it like a barista.
👇 What is a WDT Tool?
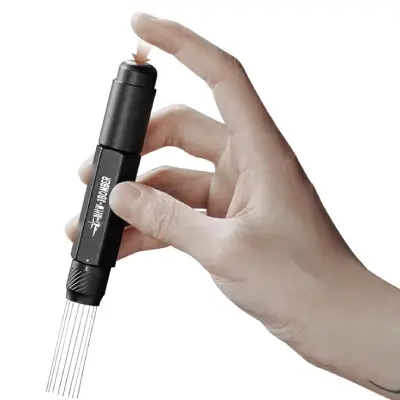
WDT TOOL
A WDT tool (short for Weiss Distribution Technique) is a simple device with fine needles that help evenly distribute ground coffee in your portafilter. It’s designed to break up clumps and create a uniform puck — which means better extraction and less channeling.
💡 If you’re still choosing a tool, check out our breakdown of the Best WDT tools for espresso.
🛠️ What You’ll Need
- Freshly ground espresso coffee
- A portafilter
- Your WDT tool
- Tamper
- (Optional) Dosing ring or funnel
Tip: A dosing funnel helps keep things tidy during this step.
📋 Step-by-Step: How to Use a WDT Tool
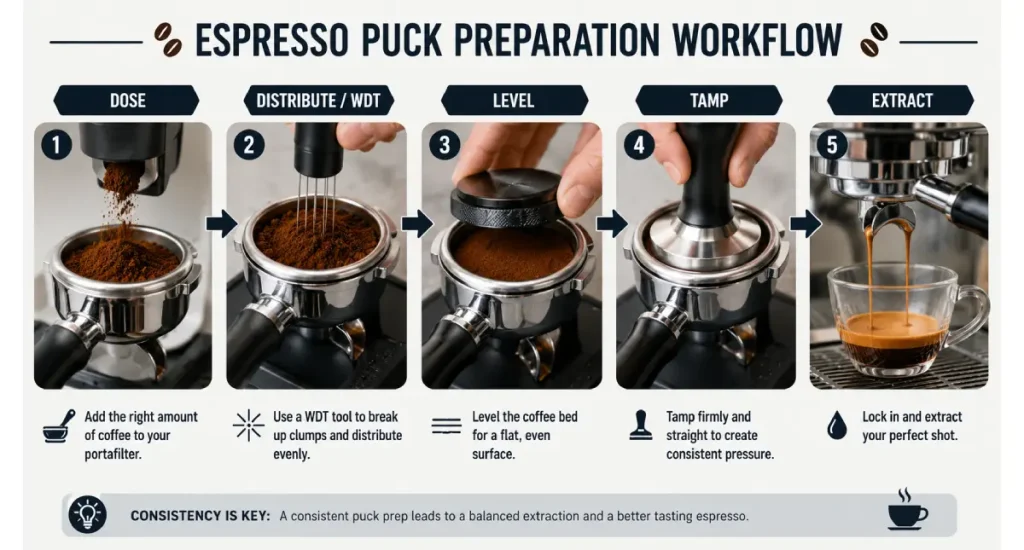
1. Grind Your Coffee into the Portafilter
Start by grinding your dose directly into the portafilter. If your grinder clumps a bit — no worries — that’s exactly what the WDT tool is here to fix.
2. Stir the Grounds with the WDT Tool
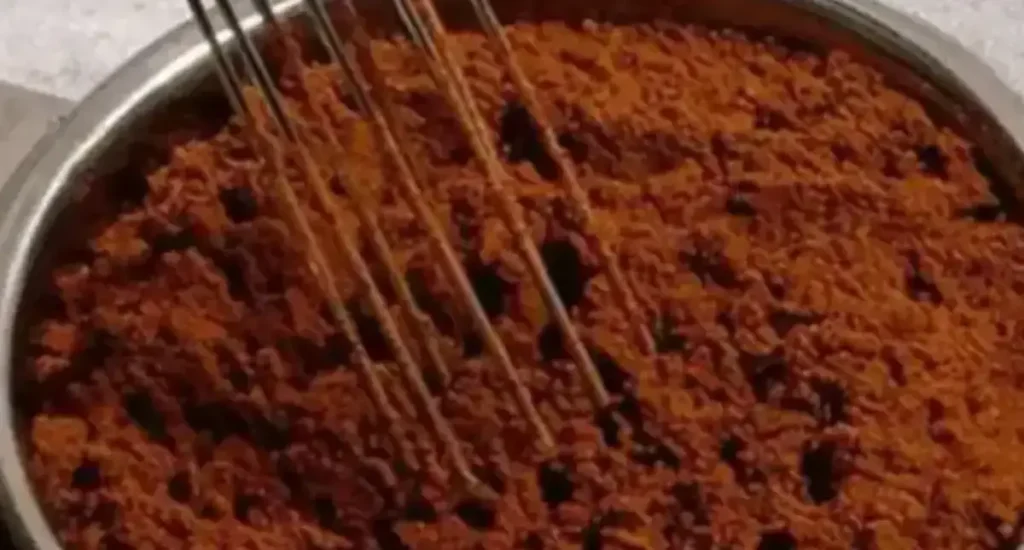
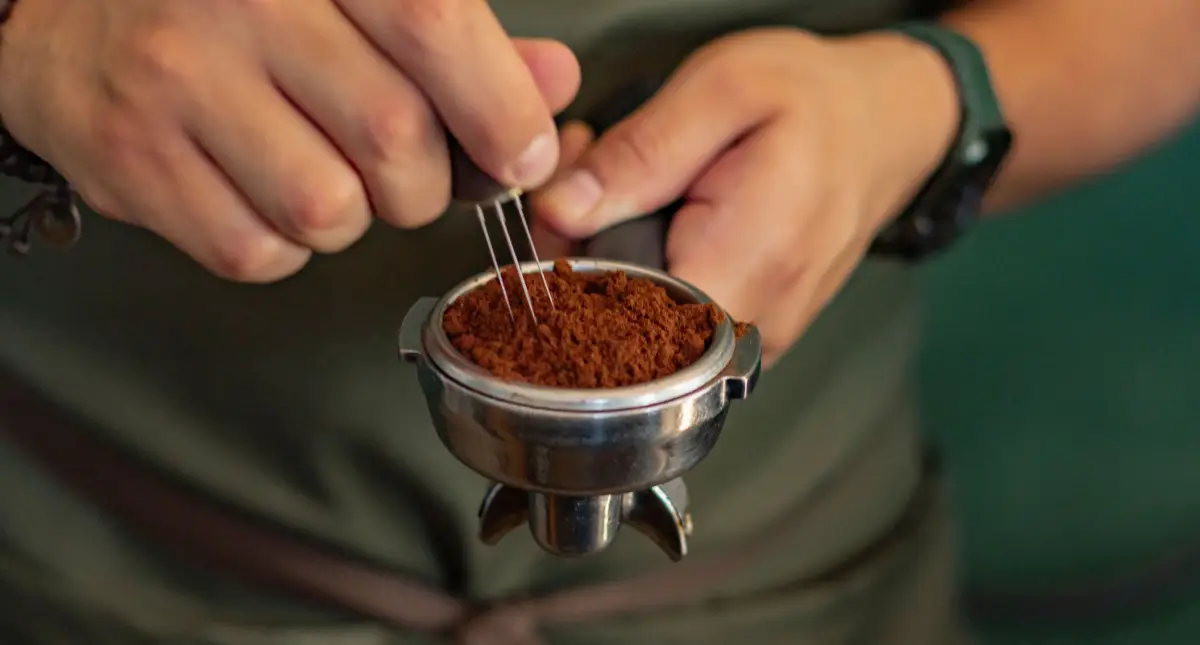
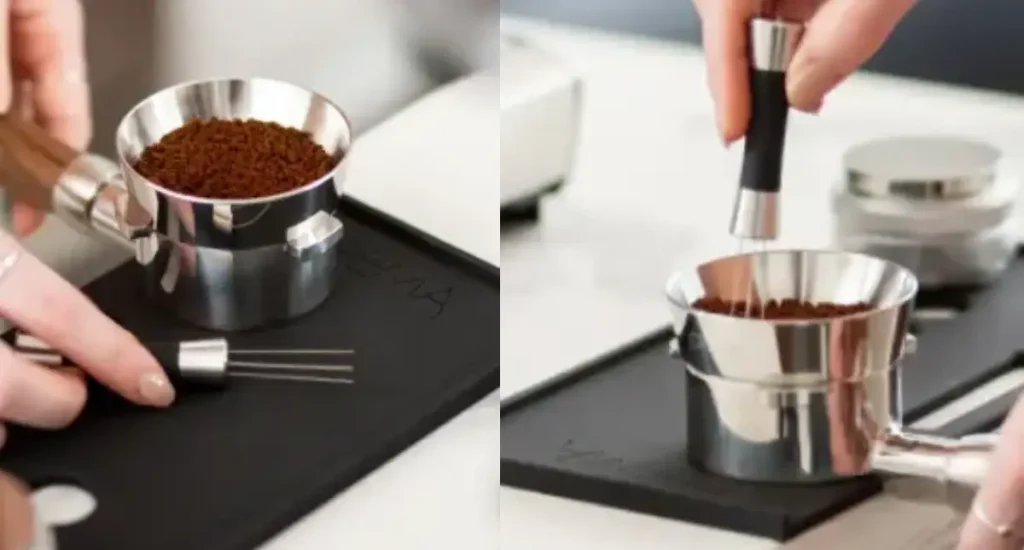
Use the WDT tool to gently stir the coffee bed in small circular or back-and-forth motions. Your goal is to break up clumps and distribute the grounds evenly.
- Keep the tool slightly above the bottom of the basket.
- Focus on reaching all areas — edges and center.
- Work for 5–10 seconds until the coffee bed looks even and fluffy.
👉 Different tools create different results — see our Normcore WDT tool review for a popular option.
3. Settle the Bed (Optional)
Tap the portafilter gently on the counter or settle the grounds by giving it a light shake. This helps create a flat surface before tamping.
👉 Crema Coffee WDT Tool – Smooth, Professional Espresso Prep
4. Tamp as Usual
Once your puck is level and distributed, tamp with firm, even pressure. You’re now set up for a more even extraction.
Not sure you’re tamping correctly? Learn how to tamp espresso like a barista.
Using the right tool also helps — here are the best espresso tampers for consistent shots.
5. Pull Your Shot
Insert your portafilter and start the shot. A well-distributed puck helps avoid channeling and leads to a more balanced flavor in your cup.
💡 Some baristas like using a spiral pattern — experiment and see what works for you.
If you’re still dialing things in, this step-by-step guide will help you refine your espresso technique.
☑️ Why Use a WDT Tool?
- Reduces channeling for more even extraction
- Improves consistency from shot to shot
- Works with any espresso machine or portafilter size
- Simple and affordable — even DIY versions can help
- If your coffee isn’t up to par you need better espresso extraction →
- A WDT tool is just one part of a complete espresso workflow — from grinding to tamping to extraction. →
- One technique you need to know is how to reduce channeling →
🛠️ Best WDT Tools for Espresso
🥇 Normcore WDT Tool
- Precision needles
- Great for consistent distribution
👉 View Product
🥈 MHW-3BOMBER WDT Tool
- Stylish + durable
👉 See Details
🥉 Budget Pick – Basic Needle Tool
- Affordable + effective
👉 Check Price
👉 See all options: Best WDT Tools for Espresso
🔄 Common Mistakes to Avoid
| Mistake | Fix |
|---|---|
| Jabbing the tool too deep | Stay above the bottom of the basket |
| Over-stirring | 5–10 seconds is enough |
| Uneven coverage | Make sure you reach all parts of the puck |
👉 Over-tamping after WDT can ruin your puck — here’s how to tamp correctly.
💬 Final Thoughts
The WDT tool may look basic, but it’s a game-changer for dialing in espresso. If you’re struggling with sour or bitter shots, or you want to get more consistent pulls, this tool is well worth adding to your espresso setup.
Ready to upgrade your tools? Don’t miss our roundup of the best WDT tools for home baristas.
🛠️ You May Also Like
- 👉 Best Espresso Tampers – Find a tamper that fits your hand and your basket.
- 👉 Espresso Knock Boxes Explained – Keep your workspace clean and your workflow smooth.
☕ Just a heads up—this post contains affiliate links. If you buy through them, Frothy Fusion may earn a small commission (at no cost to you). Thanks for supporting our coffee-fueled content!